 The Wallet Shoppe
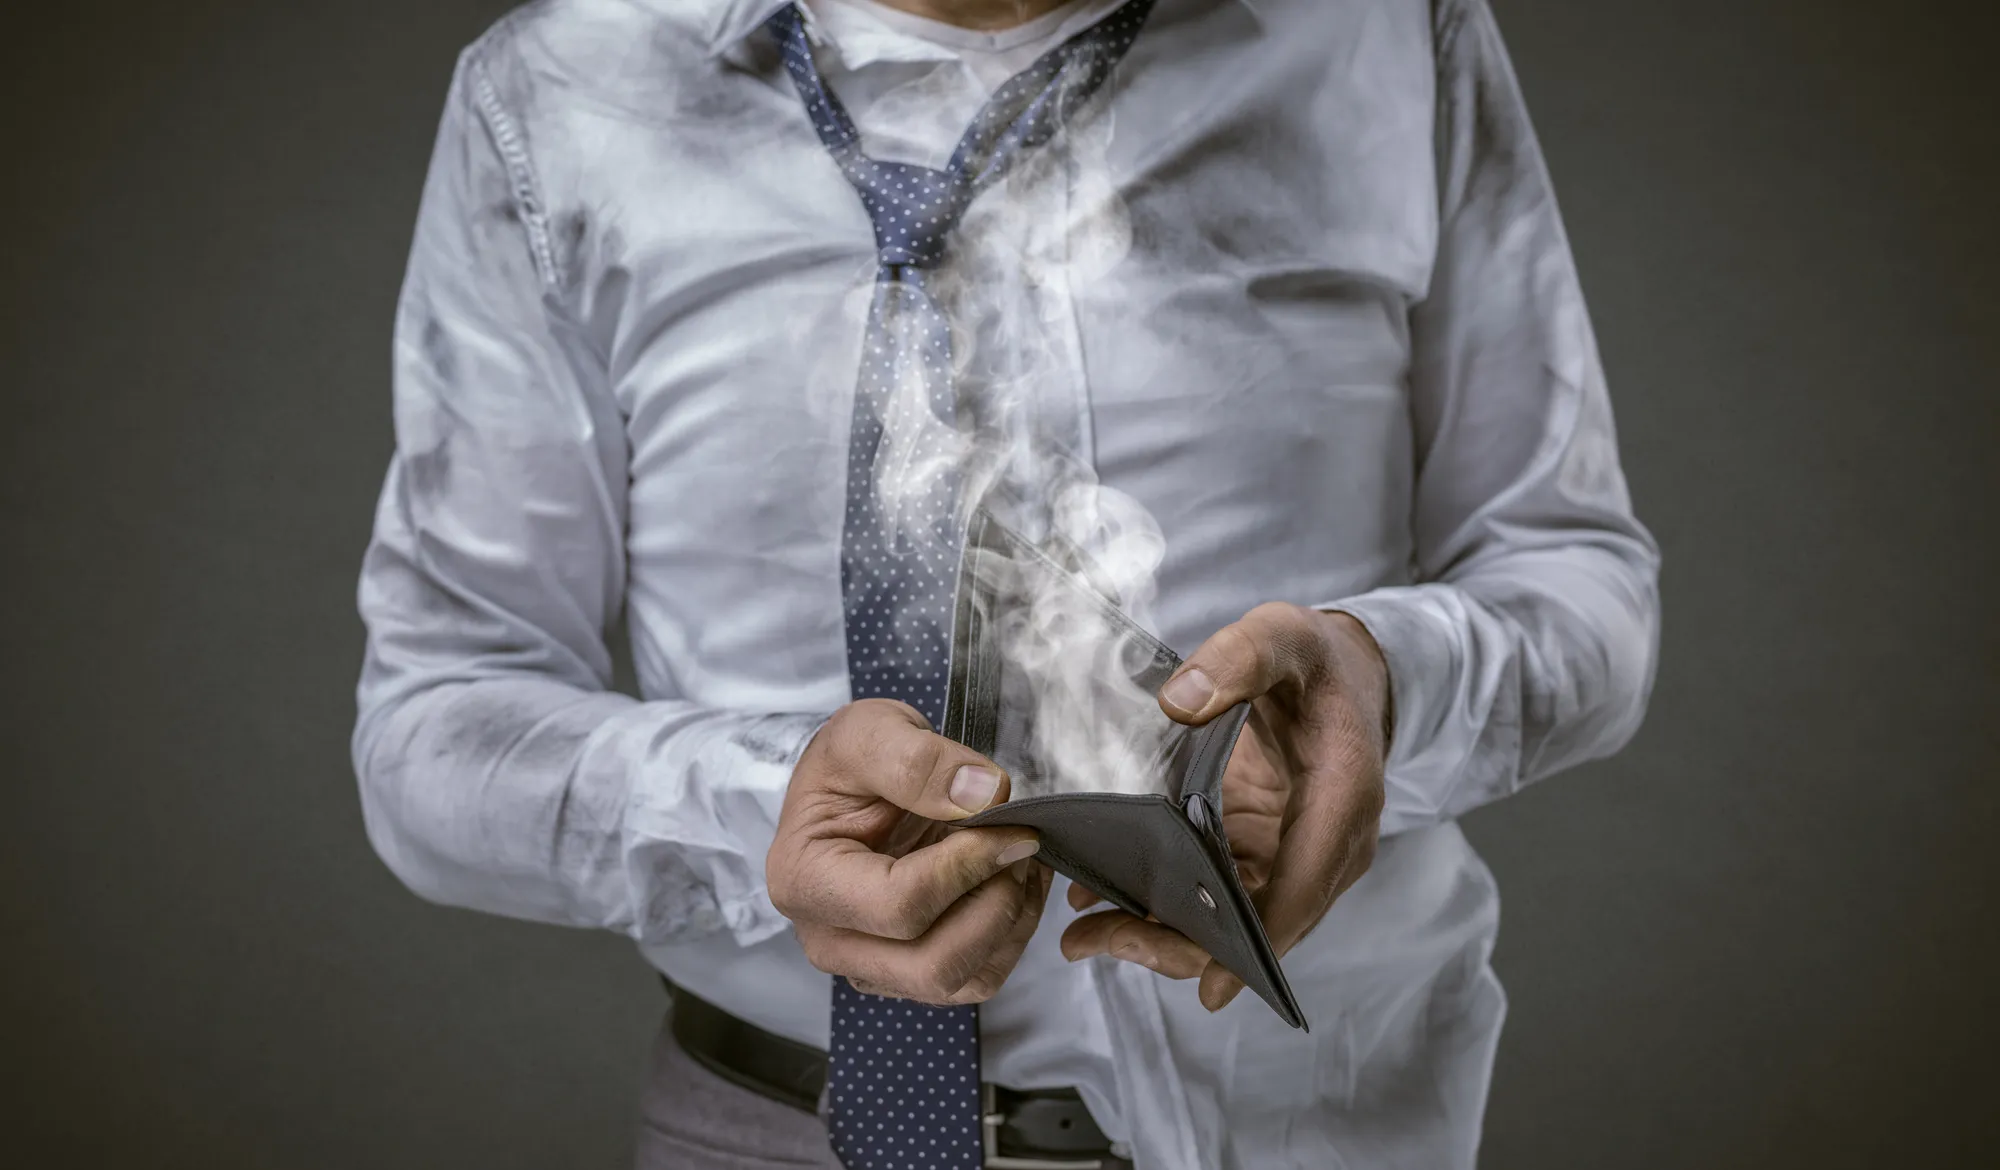
It can happen to even the highest quality wallets eventually.
If you’ve ended up on this page, you’re probably the victim of a wallet that’s stretched out to the point that your cards have begun to fall out. We can also guarantee that it no longer holds the shape it had when you first bought it.
Well, there is something you can try. A careful soak, reshape and slow dry can tighten a stretched leather wallet a little. Fair warning though: it’s a last resort. Water can mark the finish, and it won’t fix every wallet, so we’d only do it to a wallet that was otherwise headed for the bin.
Why Would You Need To Do This?
Here’s the reality.
Your wallet is all bent out of shape because you’ve crammed too much stuff in there. You see, that’s the thing about leather: it only stretches one way — out. We’ve always encouraged our readers to carry as minimally as possible.
Removing gym membership cards, grocery reward cards and the rest can go a long way toward stopping the damage (to your wallet, and to your back if you sit on it).

First, Is It Stretched or Broken?
Empty the wallet and look closely at the seams and pocket edges. Cards can fall out because a slot has stretched, but also because the stitching has failed or the lining has torn. Shrinking won’t fix a broken seam, so if that’s the problem, a leather repair shop (or the maker, if it’s under warranty) is your best bet.
If it really is just stretched, read on.
How to Shrink a Leather Wallet
Here are the five steps we’ll be covering:
- Remove everything
- Soak the wallet
- Shape the wallet
- Dry the wallet (carefully!)
- Condition the wallet
Before you start though, there are a few things you’ll need.
Things You’ll Need
- Your stretched-out wallet (duh)
- A small bowl of lukewarm water
- A hairdryer (optional, see below)
- Leather conditioner. This is optional too, but you could end up with a rough or cracked wallet if you don’t use one. A lot depends on the quality of the leather. Choose a natural, colorless conditioner; we like Chamberlain’s Leather Milk.
1. Remove Everything
Start by taking everything out of your wallet. Now is a great time to think about what you really need to carry (what’s in your wallet, anyway?).
Don’t spend all this time bringing your wallet back to life, only to stuff it full again. You can’t do this over and over; eventually, you’ll be out of luck.
2. Soak the Wallet
Grab the bowl of lukewarm water and soak your wallet for 10-15 minutes.
I know it seems counterintuitive to get your wallet wet, but the leather needs to soften for this to work. Don’t go overboard and forget about your wallet for an hour, though, or you might not be able to save it.
3. Shape the Wallet
This step is often overlooked, but it’s super important. Take some time to actually reshape the wallet.
Don’t take it out of the water and just leave it to dry for 24 hours. Open and close it a few times to loosen it up, then, with the wallet closed, press it together with your hands and work it around a bit.
We like to place one card on either side of the wallet to help it hold its shape as it dries.
DO NOT put everything back in your wallet, or even a single card in EVERY card pocket. You only want one card on each side to give the drying wallet a little guide as it shrinks.
4. Dry the Wallet (Carefully!)
The wallet will dry on its own. You can help it along, but you don’t want to speed things up too much. Lay it flat somewhere warm and airy, out of direct sunlight. (Bellroy’s care advice for a wet wallet is the same: dry it slowly, away from the sun.) Set it outside in direct sunlight and you’re almost guaranteed to crack the leather.
After the wallet has been drying for about an hour, rub in a little leather conditioner and reshape it again. Use the conditioner sparingly at this stage, because too much will lessen the “shrink factor”. You’re just softening the leather enough to avoid rough spots or cracking.

Some people like to use a hairdryer for this.
We don’t recommend it. But if you do, keep it on the coolest setting and only use it to speed up the drying a bit. Overdo it with the hairdryer and guess what? Cracking leather!
5. Condition the Wallet Again
After 12 hours or so, grab the wallet and condition it more generously this time. We like to let the conditioner soak in for another 6-8 hours before filling the wallet with cards.
How to Shrink a Leather Wallet - Wrap Up
And that’s a wrap.
If you’ve followed these steps carefully (and not rushed anything), your wallet should have shrunk back a little closer to its original shape.
This approach won’t achieve miracles, but it can help bring your favorite wallet back to life. And now for the most important thing:
Don’t Let It Stretch Out Again!
This isn’t something you can do time after time. Leather won’t respond well to that at all. If you’ve managed to save a wallet you love, the most important thing you can do is not stretch it out again.
Remember, minimalist carry is more of a way of thinking. You’ll get used to carrying fewer cards, and pretty soon you won’t even miss the extra clutter. Our wallet slim-down guide has some tips.
If you’re just looking to clean a leather wallet, we wrote an article on that too. And if your wallet is too far gone, we’ve put together a list of the best minimalist wallets on the market right now.
FAQ
Can you put a leather wallet in the washing machine?
We really don’t recommend this! This method is all about going slowly and carefully, respecting that leather is a natural product. The agitation inside a washing machine will almost certainly ruin a leather wallet.
Can you put a leather wallet in the dryer?
We really don’t recommend this either! A hair dryer on its coolest setting can speed up drying slightly, but a tumble dryer will ruin a wallet.
Is it safe to try to shrink a leather wallet?
Clearly it’s much better never to stretch out a wallet in the first place. You should be OK if you’re careful and follow the steps above, but there’s no guarantee. We’d only do this if the wallet was otherwise going to need replacing.